
This post has some narrative, which happens once in a while here, and a dedication, which I’ve never done before.
That said, this post is dedicated to my dad, Julie Nessel. This is one of his favorite meals. My dad is an excellent cook, he was one of my earliest cooking teachers and inspirations.
He taught me to appreciate rare meat and cheap cuts that have actual flavor.
He taught me to try everything at least once, and to not ever be put off by anything until you try it. I have him to thank for my eclectic taste in food, and my open mindedness when it comes to recipes and ingredients.
He can also still get more meat off of a bone than any other person on the planet. If you think you can do better come to Madison and we’ll see.
Beef ribs are purely my dad. They’re bi-product from when the butcher cuts rib eye steaks. The leftover rib section either gets tossed or sold as dog treats (after being treated with whatever that horrible stuff is that makes dog bones with meat on them never go bad). Or if you’re lucky, you can find them in the grocery store.
They’re work to eat – the meat is chewy and there’s a lot of tendon and sinew on the bones. In general you’ll have a meaty side and a bony side. You can start with a knife and fork, but you’ll need to finish with your fingers and your teeth. In other word they’re absolutely wonderful. I got the ones I cooked for these pictures at Whole Foods for $3.99 per pound. Yep, you read that right. The Whole Foods meat counter, grass fed beef, $3.99 per pound. That’s the benefit of cooking bi-product. And it separates the real cooks from the rest. If you can’t make a $22.00 per pound dry aged rib eye taste good you should hang your apron up permanently. But to venture into the leftover ribs and make them yummy – now you’re cooking (actually – these are pretty easy, but don’t tell your guests that – hammer on the bi-product bit).

I cook these outside on charcoal. I use my Char-Griller for this, which I find far superior to a more expensive Weber Grill (more expensive if you look at the amount of cooking area you get for your money).
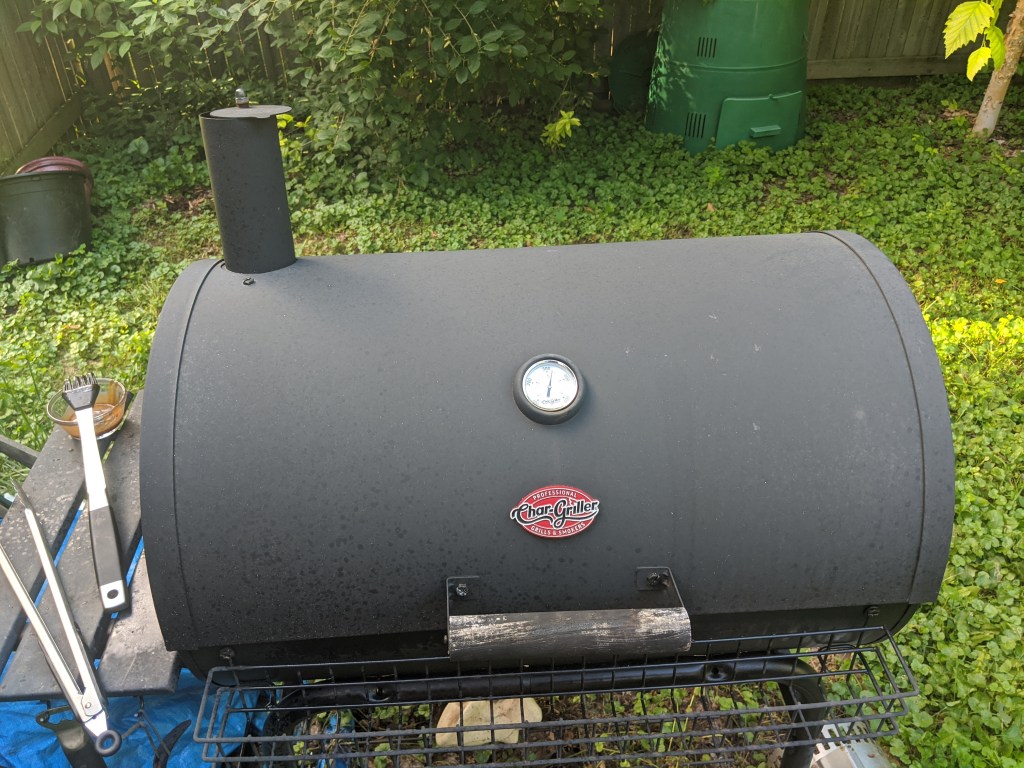
I should pause and mention that I have no endorsements from anyone, and nobody has ever paid me or given me product for free in exchange for a mention in this blog. But I do like to share not just the method, but the tools that I know work.
This is my second one of these grills (the first one rusted to nothing after a series of Madison WI winters, which is inevitable if you don’t have space to store it indoors for the winter). I have last year’s model of this one (https://www.chargriller.com/collections/charcoal-grills/products/super-pro-a-2121-charcoal-grill). This year’s is a little different than mine, but primarily cosmetically. I like these over Webers for three reasons:
The coal bed raises and lowers, so you can bring the heat closer to the food and have better temperature control.
The grates are cast iron. You need to season them like cast iron pans, and take care of them, but once seasoned they hold and transfer a ton of heat and are mostly non-stick.
They’re dual vented and the vents are on the bottom right and top left (via a chimney). Again, allowing for pretty fine control of temperature, with a little practice.
They come with a nifty lifter that lets you lift one grate section at a time, which is super convenient for adding more coals if you need to.
I know that was four things.
For this dish you’ll need:
~2 – 3 beef ribs per adult, 1 -2 per kid.
The commercial BBQ sauce of your choice (I’m liking Lillie’s Q – Smoky sauce right now – good balance of sweet and spice, and no corn syrup – https://www.amazon.com/Lillies-Barbeque-Sauce-SMOKY-Flavor/dp/B07C757JWT/ref=sr_1_33?crid=36XGK06YBW83N&dchild=1&keywords=bbq+sauce+whole+foods&qid=1595040062&sprefix=BBQ+sauce+whol%2Caps%2C483&sr=8-33).
That’s it.
Get your coals lit, and bank them to one side of the grill when they’ve burned down. In the Char Griller I bank the coals by the lower vent.
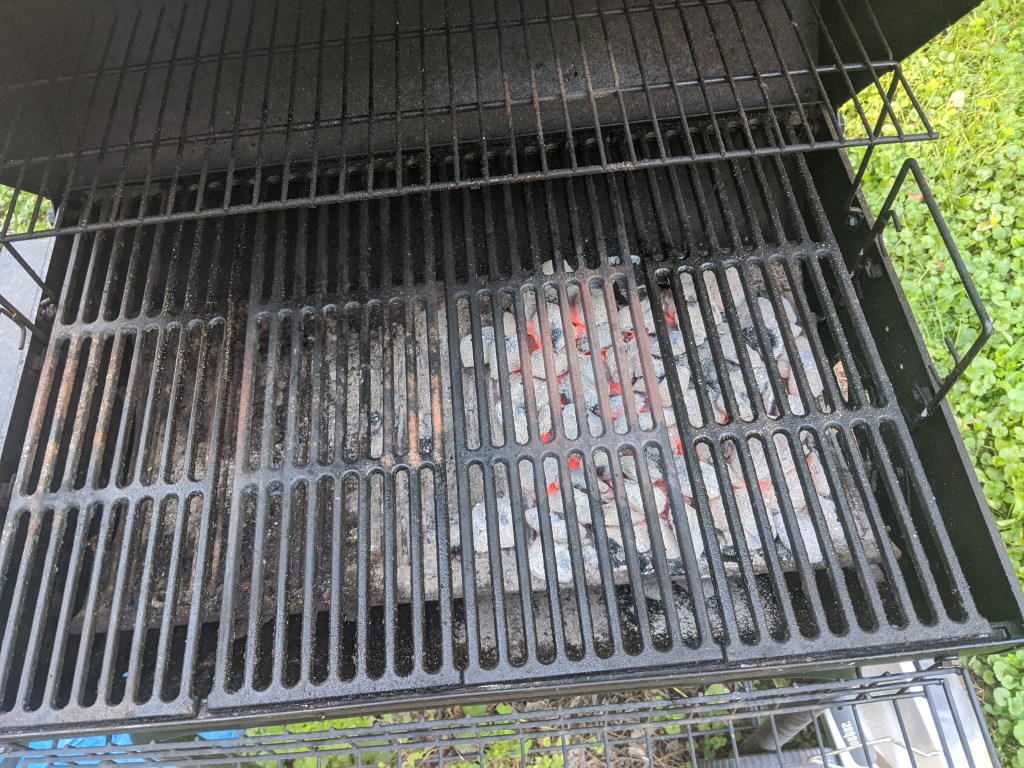
This will make a hot and cold side of the grill.
Put your grates on the grill and raise the coal bed to get the grates nice and hot.
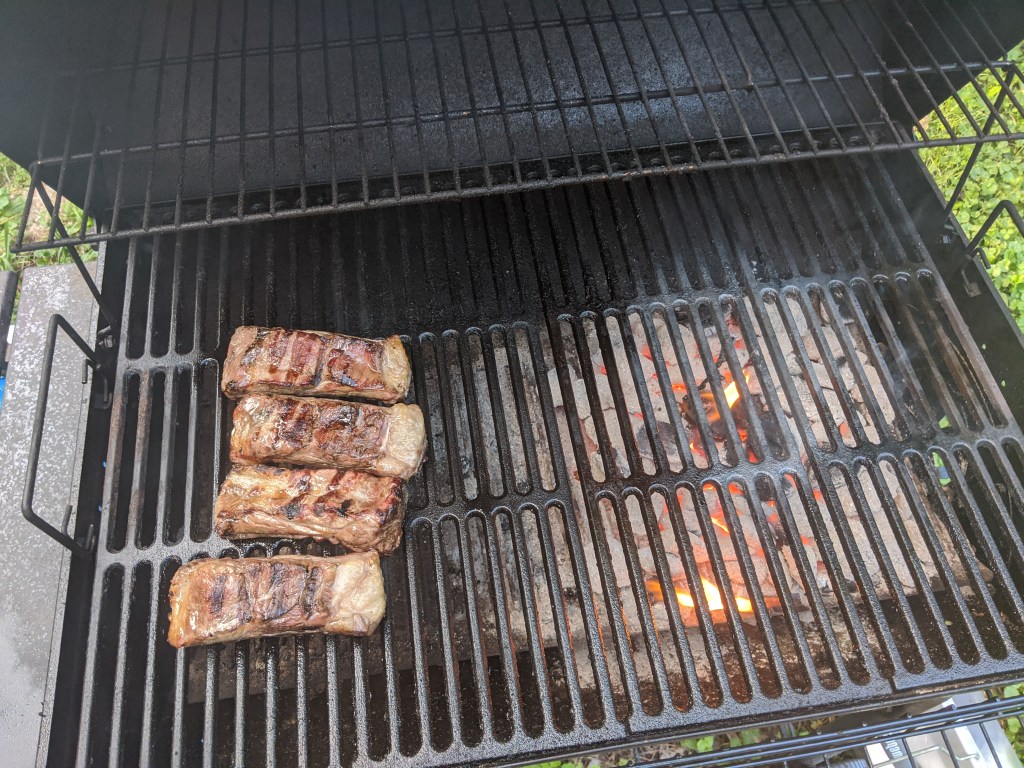
Once the grates are nice and hot, oil them (I’m using an avocado oil spray for this nowadays), and put the ribs meat side down over the coals.

Keep an eye on things – you can’t walk away just yet because your coals might flare up. If they do cover the grill to smother them a bit, or use a tongs and shuffle the meat around. Leave the meat on the hot side until you get a good sear – ~ 7 – 10 minutes, depending on your charcoal and your grill.
Once the meat is seared move it to the cooler side of the grill, meat side up, and close the lid.
Now you can walk away for a bit. Your going to let these guys roast in the closed grill for about six minutes at 375 – 400 degrees. Did I mention that the Char Griller comes with a thermometer standard? Use that time to round up a sauce brush (preferably heat resistant silicone) and put some sauce into a small jar.

A quick note about these little jars. I have between ten and fifteen in my kitchen at any given time (sometimes they break). They’re tremendously useful little guys. One is next to my stove at all time, filled with sea salt. I use them pretty much every time I cook to set up my mis.
After your ribs have roasted for 7 – 10 minutes brush a generous amount of sauce on each one, close the lid, and let them roast another 5 minutes for medium rare, or longer for better done.

That’s it. Serve and eat. I made roasted broccoli to go with these, that recipe is here: https://yetanotherfoodblog.com/2019/01/14/balsamic-glazed-chicken-thighs-with-mushrooms-and-roasted-broccoli/
Be prepared to work for these a bit, but they’re absolutely worth it.
Thanks, Dad!

I’m a good cook but Mark has far surpassed me. And he keeps getting better.
LikeLike